How To Download Install And Configure Java Development Kit (Jdk) 8 On Windows 7
How To Download Install And Configure Java Development Kit (Jdk) 8 On Windows 7
This tutorial shows How To Download Install And Set JDK environment variables on windows 7.
Follow These steps :
STEP 1. Start your browser.
In my case Am using Google chrome.
STEP 2. Enter – https://www.oracle.com/technetwork/java/javase/downloads/jdk8-downloads-2133151.html

After the website loads, locate the version you want to install.
Am choosing the jdk executable file for windows 64 bit. (This depends on your operating system type. If your windows is 32 bit, then download 32 bit version).
When you click the link you will be directed to login page, login or register and your download should start immediately.
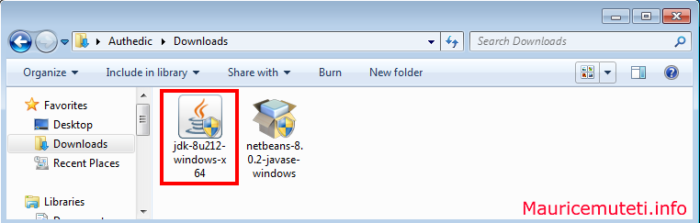
STEP 3. When the download is complete, go to the folder where the jdk executable file is stored.
STEP 4. First you can check if the java development kit is installed already by running the following commands using CMD (command prompt).
1.java
2.javac
3.java -version

If the above commands return nothing just know that java is not found on your computer and you can start the installation.
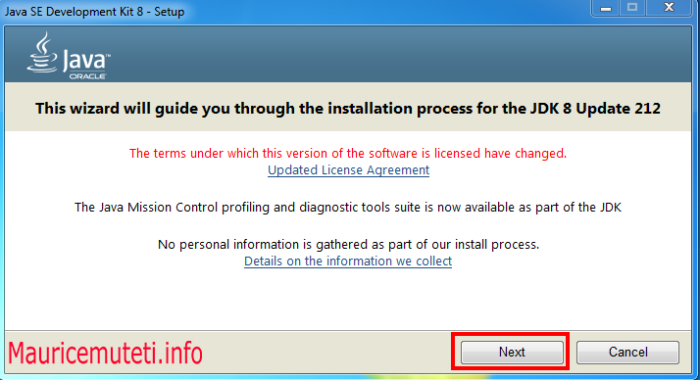
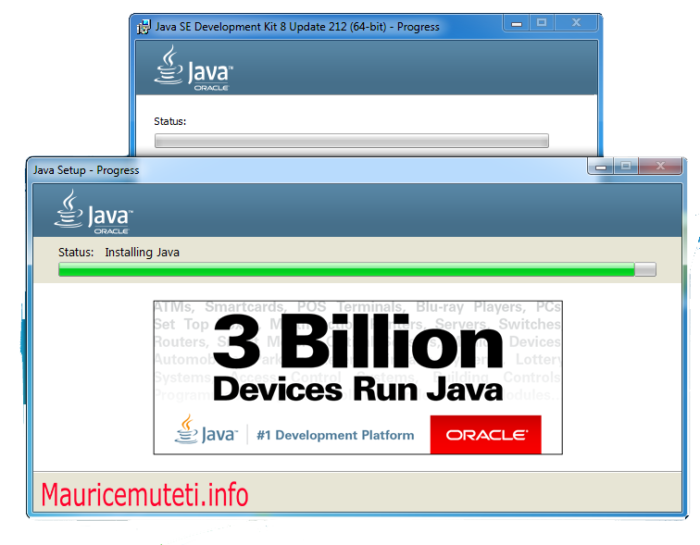
STEP 5. Follow the installation process to the end, and leave the default installation location. If you want , you can also change it.


STEP 6. When the download is finished you can confirm if the jdk was installed by going to the locations you chose while installing.
I am able to find these two files on my C:\Program Files\Java\ path.
- C:\Program Files\Java\jre1.8.0_212
- C:\Program Files\Java\jdk1.8.0_212
To set the enviroment variables :
Complete path for system variables : Start -> Computer -> System Properties -> Advanced system settings -> Environment Variables -> System variables
STEP 1. Click On Windows 7 start menu.
Right click My Computer and select Properties.

STEP 2. Click Advanced System Settings.

STEP 3. Click the Environment Variables button.

STEP 4. Under System Variables, scroll till you locate path.

STEP 5. Click to select path and click edit button below.
add the following paths:
- C:\Program Files\Java\jre1.8.0_212\bin
- C:\Program Files\Java\jdk1.8.0_212\bin


STEP 6. Add both of these paths at the end of existing paths, separated by semi colon (;).
Like this ;C:\Program Files\Java\jre1.8.0_212\bin;C:\Program Files\Java\jdk1.8.0_212\bin

Then go back to command prompt(cmd) and run the following commands once more to confirm whether jdk has been installed successfully and environment paths configured.
1.java
2.javac
3.java -version