How To Download And Install XAMPP On Windows 7 64-Bit
How To Download And Install XAMPP On Windows 7 64-Bit
How To Download And Install XAMPP On Windows 7 64-Bit
Xampp is a server manager which enables you to operate or run mysql, apache, php etc without configuring each component individually. All these components are ready to use without any further setup. And you can run them flawlessly using XAMPP Control Panel. This tutorial elaborates how to download, install and start xampp server.
Downloading XAMPP.
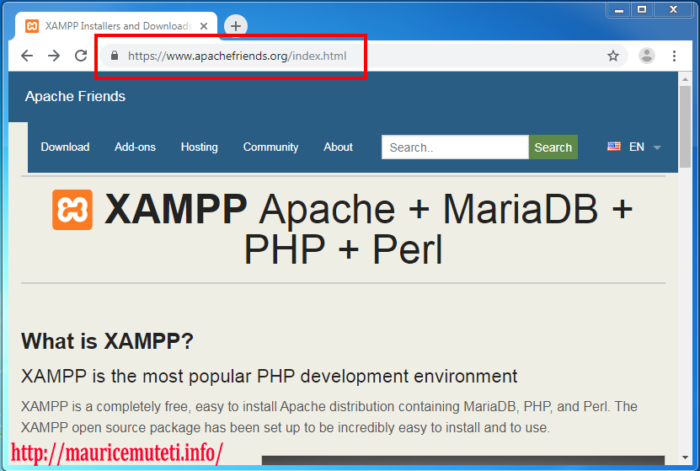
Step 1. Start your browser and enter this url – https://www.apachefriends.org/index.html – to Open XAMPP Official Website.
Step 2. Click Download.
Step 3. Locate the version you want to download and click download button.
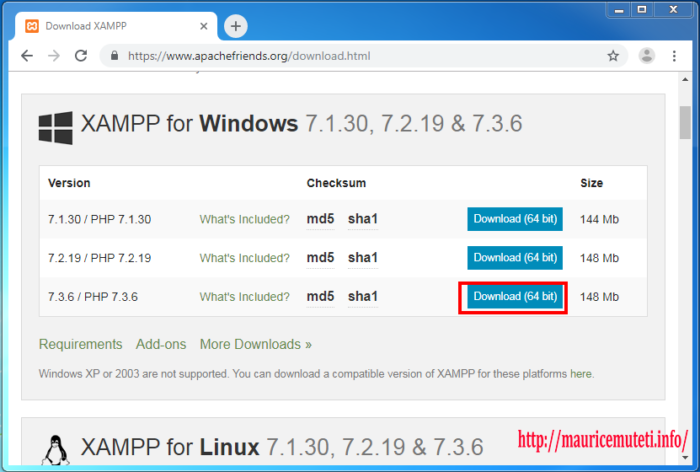
Step 4. Your download will start immediately.
Installing XAMPP.
Step 5. When the download is complete, go to the folder where xampp is saved and double click on the executable file to start the installation. In my case i have xampp in downloads folder. If you have User Account Control (UAC) Enabled, You will get a confirmation box, click Ok to confirm. You can learn more about How To Disable User Account Control (UAC) On Windows 7.

The windows below appears for few seconds then dissapears.


Step 6. Click Ok on UAC missing write permission, warning confirm box.

Step 7. On “Welcome to XAMPP setup wizard” window. click next.

Step 8. On “Select Components” window. Select the Components you want to install. By default all the Components are selected. You can uncheck the Components you dont want to install and then click next.

Step 9. On “Installation folder” window. Choose folder where the application files will be stored. Click folder shaped icon on the right of the current selected installation directory destination. The click to select a folder on your computer. Then click okay to confirm your xampp installation location and click next.

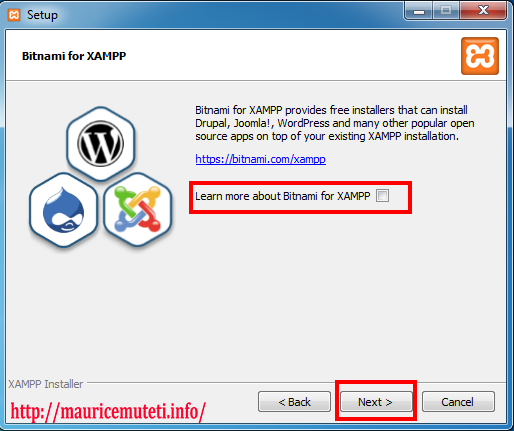
Step 10. On “Bitnami for XAMPP” window. Uncheck learn more about Bitnami for xampp, unless you want to do so, and then click next.
Step 11. On “Ready to install” window. click next.

Step 12. Wait for the installation process to complete.

Step 13. On “Completing the XAMPP setup wizard” Window. Select “Do you want to start the control panel now?” checkbox and Click Finish. This will start xampp control panel automatically.
Step 14. Click finish when prompted.

Starting XAMPP.
Step 15. Before the end of installation you will see “Do you want to start the control panel now ?” checkbox. Check/select it if you don’t want to start the application manually. To start the application manually go to start menu , enter “xampp Control Panel” and click okay.
Step 16. Select a language. Check the box next to the American flag for English, or the one next to the Germany flag for German.

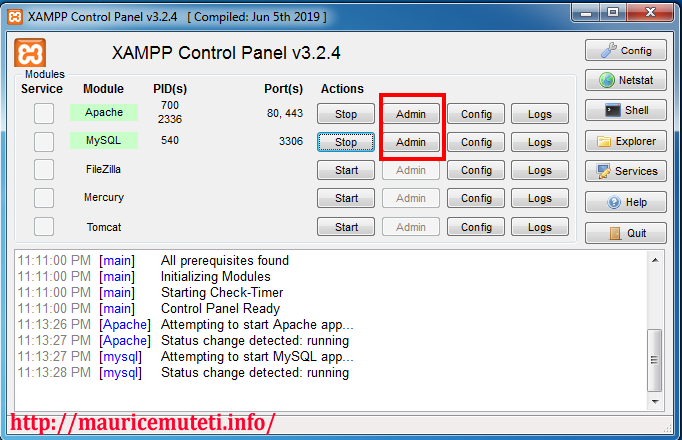
Step 17. On xampp control panel start mysql and apache server.

Step 18. Click Admin on the same row with apache to open localhost dashboard on your browser.
Step 19. Click Admin on the same row with mysql to open mysql dashboard on your browser.
When you click admin button next to apache you will be redirected to
http://localhost/dashboard/ which is the xampp localhost server homepage.

Admin button next to mysql open phpmyadmin which is a web-based Graphical user interface for mysql. You can execute sql queries for creating databases, creating tables, selecting data from tables, deleting data and more… using phpmyadmin interface.

So that’s all about Installing XAMPP on windows 7. If you have any thoughts or questions related to this post drop your comments below